 Register


While connecting to a computer using the Remote Desktop Connection, the request goes through the default 3389 port. You can change this by changing the registry value.
Benefits:
- Better security as a non-default port is used.
- The system is safe from Brute Force attacks that may otherwise lead to theft of administrator password.
Requirements:
- Internet Connection
- Server IP Address
- A Server id/password
Let us take a look at few steps of changing the default RDP port to custom on Windows Server:
- Open the Registry Editor by clicking on Start > Typing Regedit, and press Enter key.
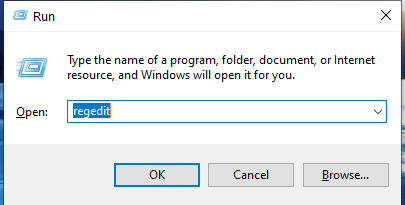
-
- The User Account Control dialog box opens > Click on Yes
- When the Registry Editor opens, navigate to the following subkey: “HKEY_LOCAL_MACHINE\System\CurrentControlSet\Control\Terminal Server\WinStations\RDP-Tcp”
- Find PortNumber > Right Click on it > Click on Modify
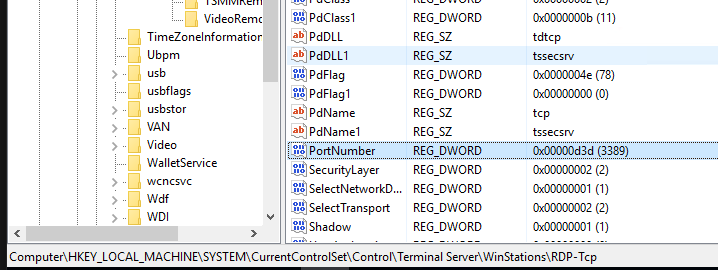
-
- Change the Base to Decimal > Enter a new port number in the Value field > Click OK
-
- Close the Registry Editor and Restart your Computer.
-
- Allow the new port number through the Network Firewall.
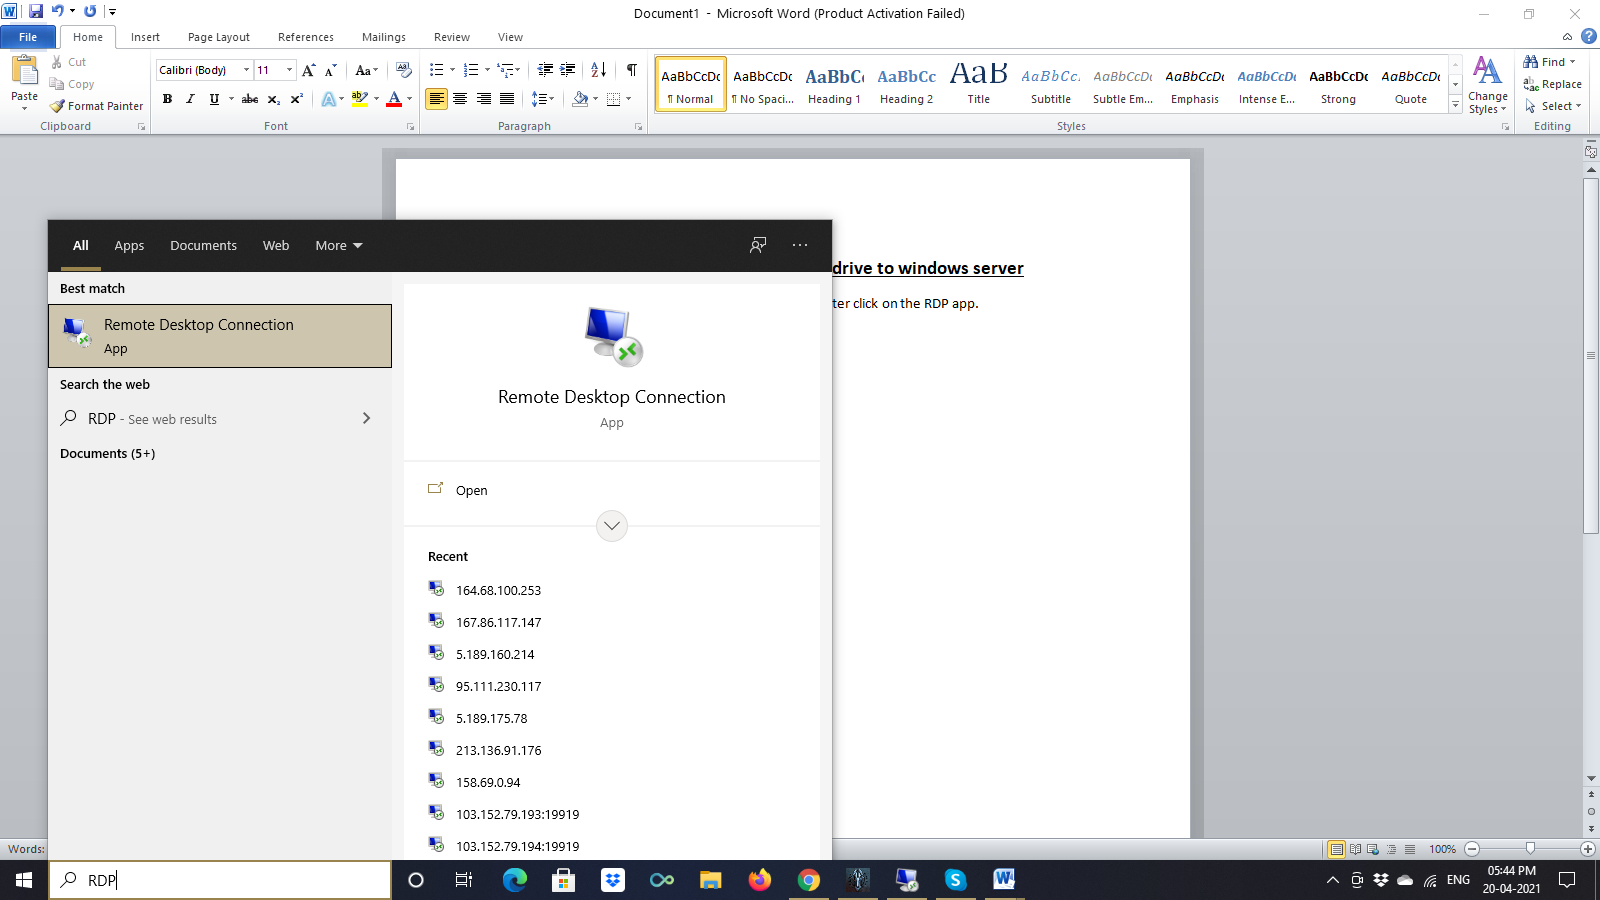
Also Read, How to Connect Your Local Drive to The Windows Server While Taking RDP?
Note:
-
- The next time you connect your computer using the RDP, type in the new port number
-
- The new port number must be a port between 1025 and 65535 which is not in use.
-
- Do not forget the custom port number and allow it access through the Firewall if you do not wish to lose your RDP access.
Conclusion:
In this short guide, we have explained how to change your RDP port to a custom one for better security.