 Register


Learn How to Blacklist the IP & then remove it from the blacklist in CWP Panel
1.> Login to the CWP Panel by “root” username & your system server password.
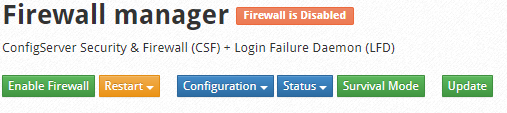
2.> And then after click on the Security sidebar tab & then click on Firewall manager & the firewall manager page will open.

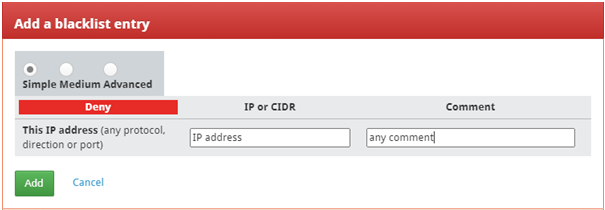
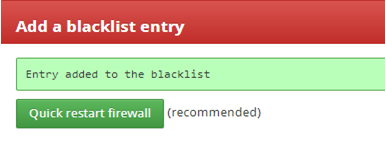
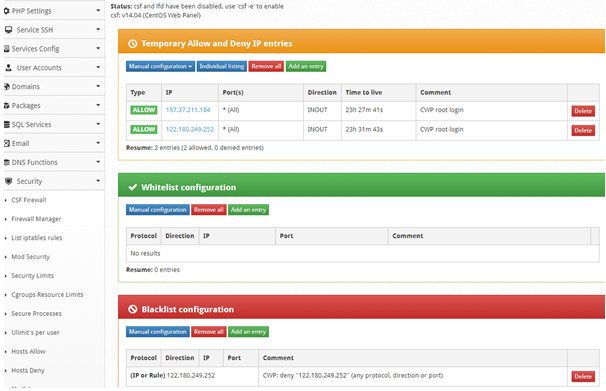
3.> After click on Add an entry option of the Blacklist Configuration & then type the IP Address which you want to block & type comment (optional) & then click on Add button & the after click on quick restart firewall.
4.> And then after check, the firewall is enabled or disabled, if disable then go to the top of the firewall manager page & then click on enable.
5.> After opening a new tab in the browser & check it works or not.
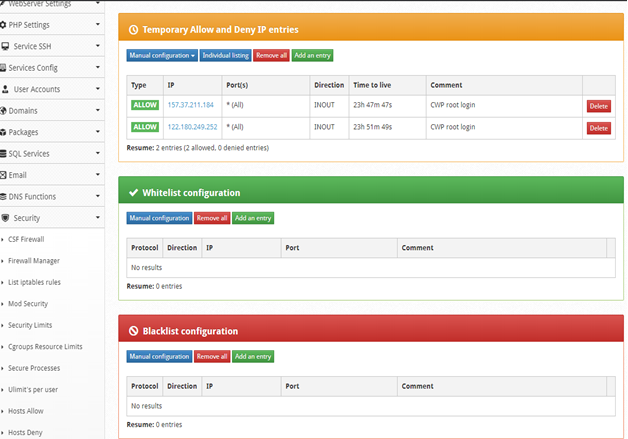
6.> After, if you are trying to unblock the IP then connect your system to another net i.e mobile hotspot & then after checking the IP again, it will definitely work. Now login again to the cwp panel & then go to firewall manager & then delete the IP from the blacklist configuration & the IP will work.
For Example:
I connect the net with Airtel WiFi & then configure all the steps from step 1 to step 4 result the Ip will be blocked in all those systems like laptops, PCs & mobile which are connected to the Airtel WiFi.
Now you want to unblock the Ip then first change the net i.e I connect the system with my mobile hotspot i.e Jio connection & then try the block Ip on the browser & it will working & then again login the CWP panel & the delete the Ip from the blacklist configuration in firewall manager.