 Register


In this, we will tell you how to apply the NAT setting in the CWP panel
NAT is short for Network Address Translation
Why the NAT is important?
NAT is a very important aspect of firewall security. It conserves the number of public addresses used within an organization, and it allows for stricter control of access to resources on both sides of the firewall
Like in AWS there is a public and private network, so dating is enabled by default
Prerequisites: – Centos 7, a user with root privileges
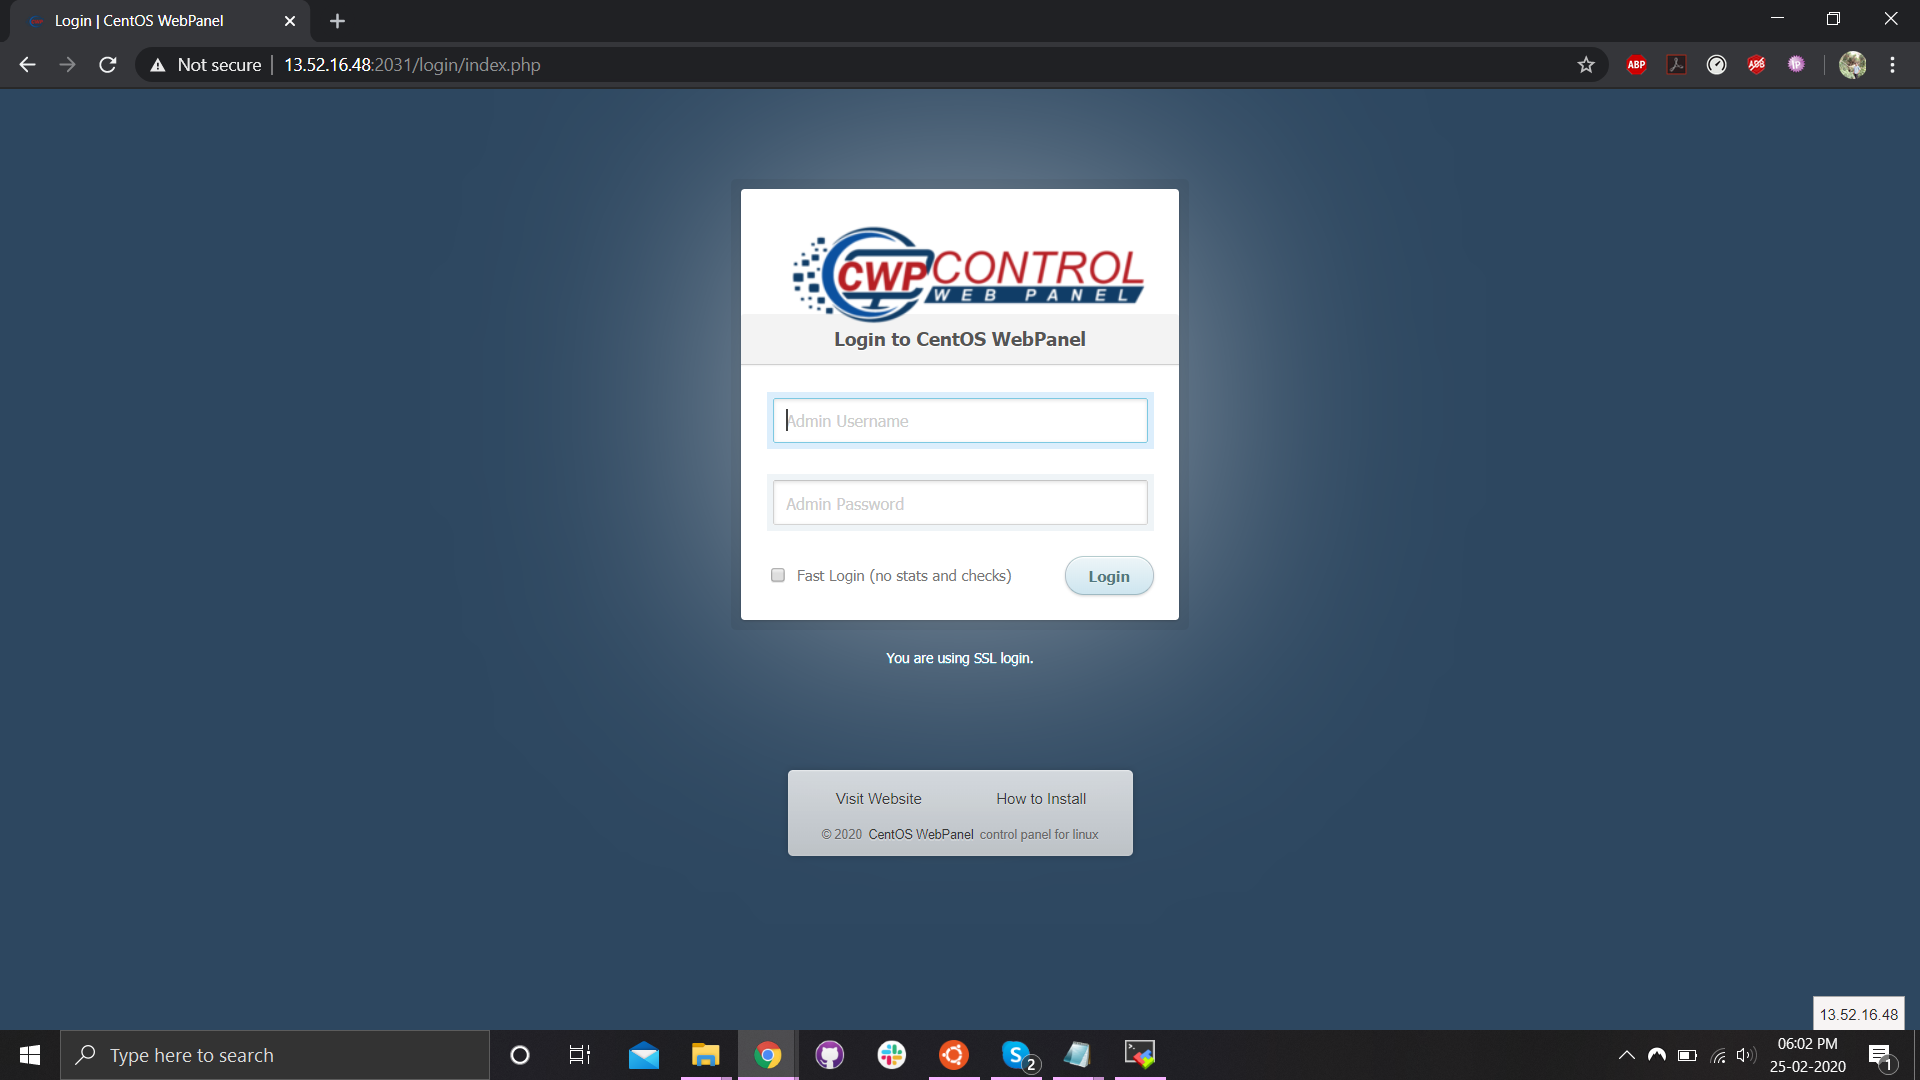
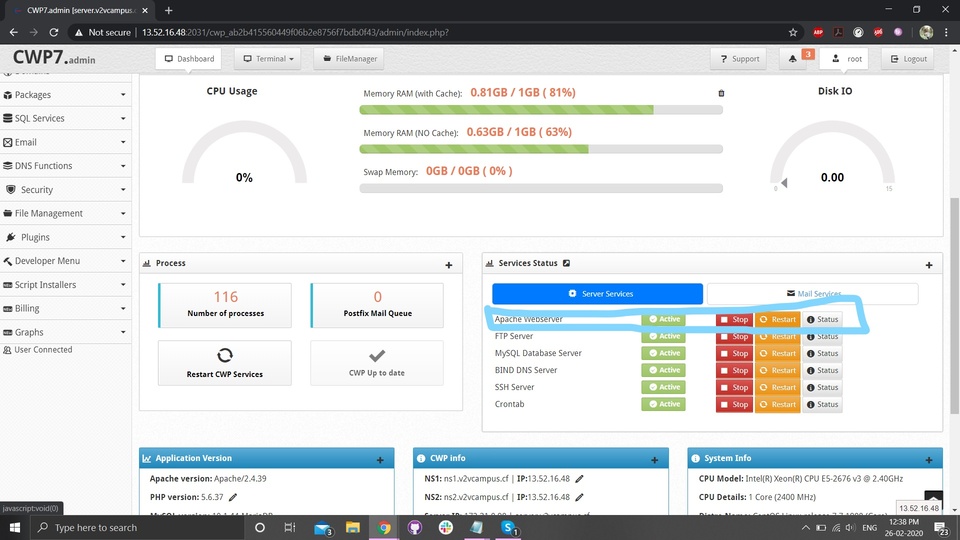
Step 1:- Login in the CWP panel.
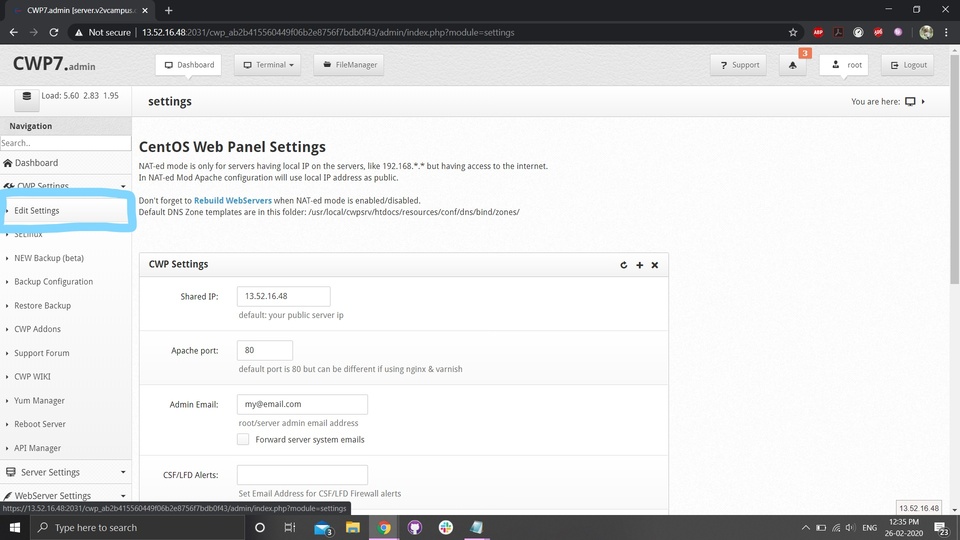
Step 2:- Go to CWP setting and click on Edit setting.
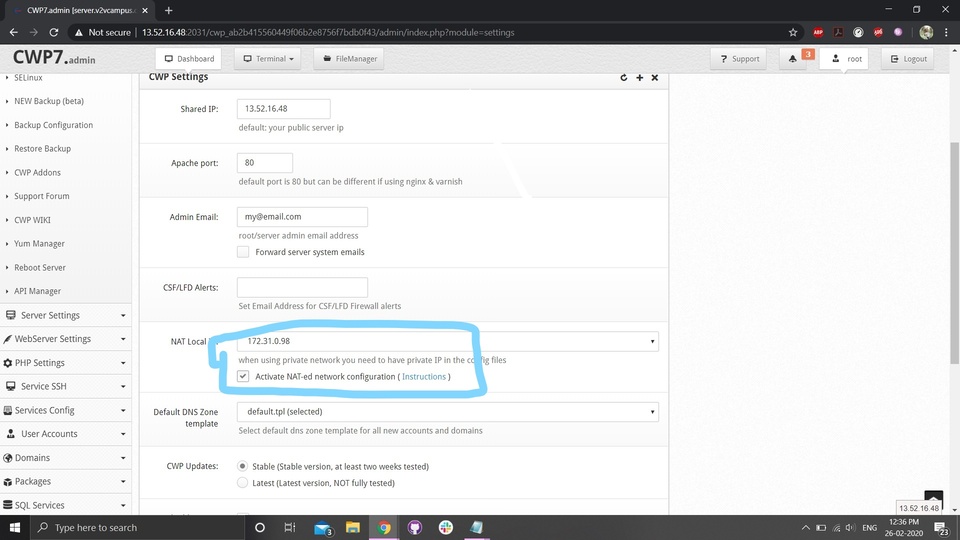
Step 3:- Scroll down and click on activate NAT-ed network configuration.
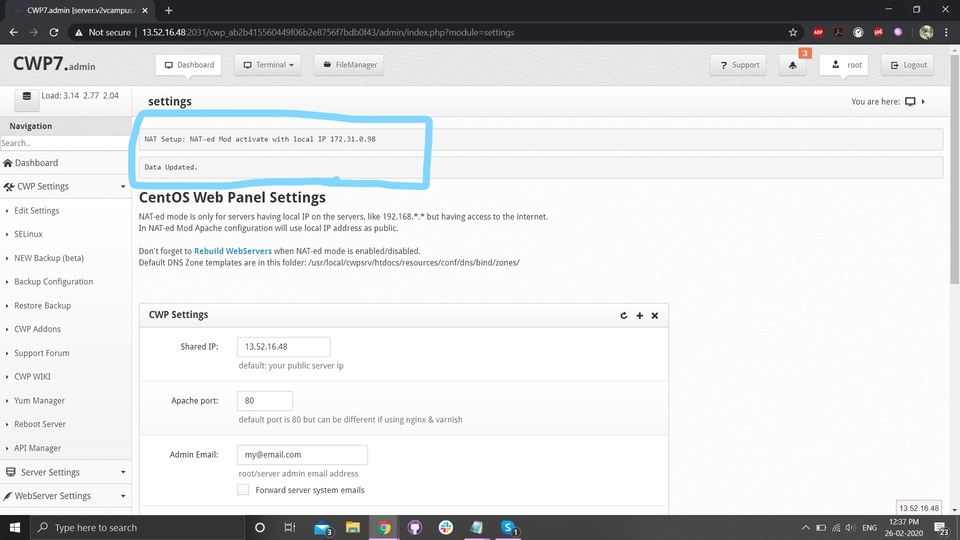
Step 4:- Click on save changes.
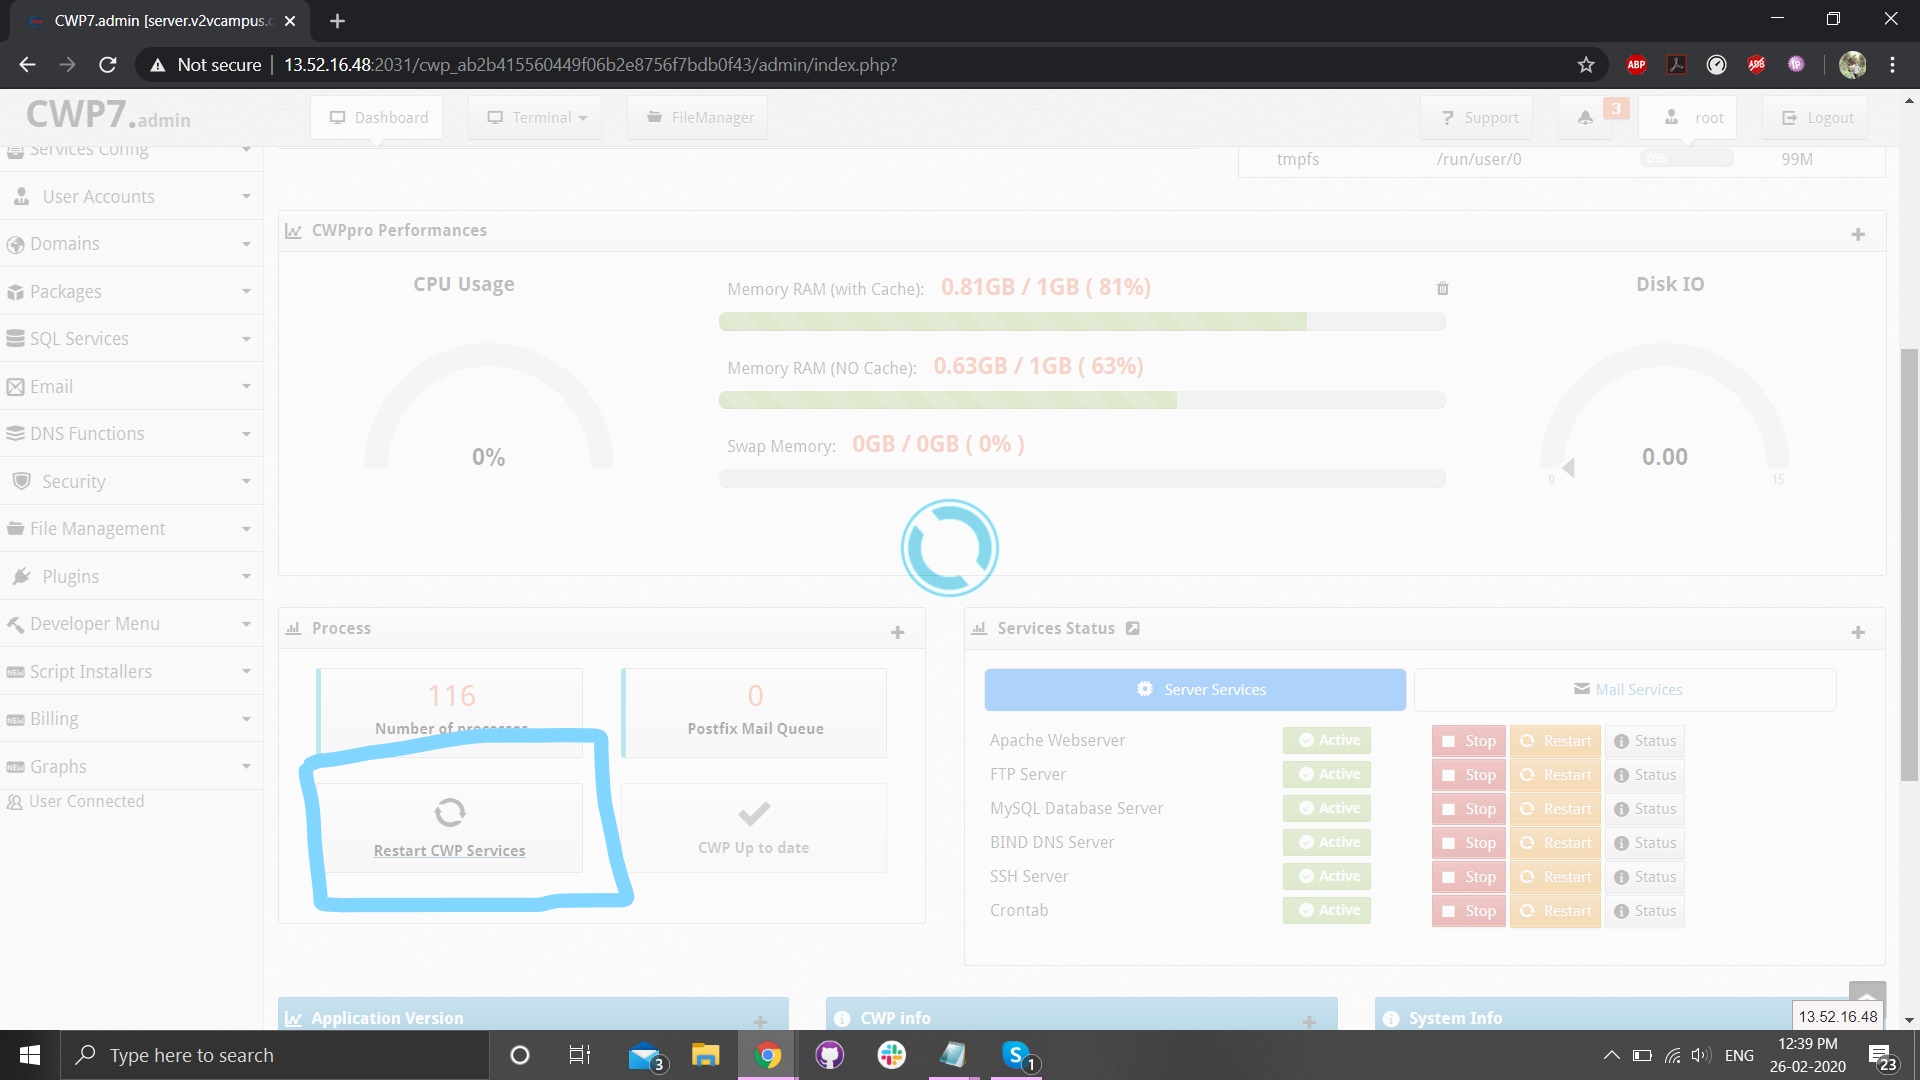
Step 5:- Go to dashboard and restart CWP services and apace service.
Conclusion: Finally you will learn to apply NAT setting on the CWP panel.