Introduction
This is the second part of our guide on building a complete email server. In Part 1, we configured Postfix (SMTP) and Dovecot (IMAP/POP3), allowing you to send and receive emails via the command line.
Now, we will install Roundcube, a modern, browser-based webmail client that provides a user-friendly interface similar to Gmail or Outlook. This involves setting up a LAMP stack (Linux, Apache, MariaDB, PHP) to run Roundcube.
Step 1: Install the LAMP Stack
Roundcube requires a web server, a database, and PHP. We will install and configure these components.
1.1 Install Apache, PHP, and MariaDB:
Install all required packages with a single command:
sudo yum install -y httpd php php-fpm php-mcrypt php-cli php-gd php-curl php-xml php-mysql php-mbstring php-pspell php-imagick mariadb-server
1.2 Start and Enable Services:
sudo systemctl start httpd mariadb
sudo systemctl enable httpd mariadb
1.3 Configure PHP Settings:
Edit the main PHP configuration file to set your timezone.
sudo vi /etc/php.ini
Find the line ;date.timezone = and modify it to your region. Remove the semicolon (;) to uncomment it.
date.timezone = "Asia/Kolkata"
Save the file and restart Apache to apply the changes.
sudo systemctl restart httpd
Pro Tip: You can find a list of supported timezones here. Using the correct timezone is crucial for accurate email timestamps.
Step 2: Configure MariaDB Database
2.1 Secure MariaDB Installation:
Run the security script to set a root password and remove insecure defaults:
sudo mysql_secure_installation
Follow the prompts to set a root password, remove anonymous users, disallow remote root login, and remove the test database.
2.2 Create a Database for Roundcube:
Log into MariaDB and create a dedicated database and user for Roundcube for better security.
mysql -u root -p
Enter your root password when prompted, then run the following SQL commands inside the MariaDB shell:
CREATE DATABASE roundcubemail;
CREATE USER 'roundcube'@'localhost' IDENTIFIED BY '=213@!#webL';
GRANT ALL PRIVILEGES ON roundcubemail.* TO 'roundcube'@'localhost';
FLUSH PRIVILEGES;
EXIT;
http://mail.you_domain.com/roundcube/installer
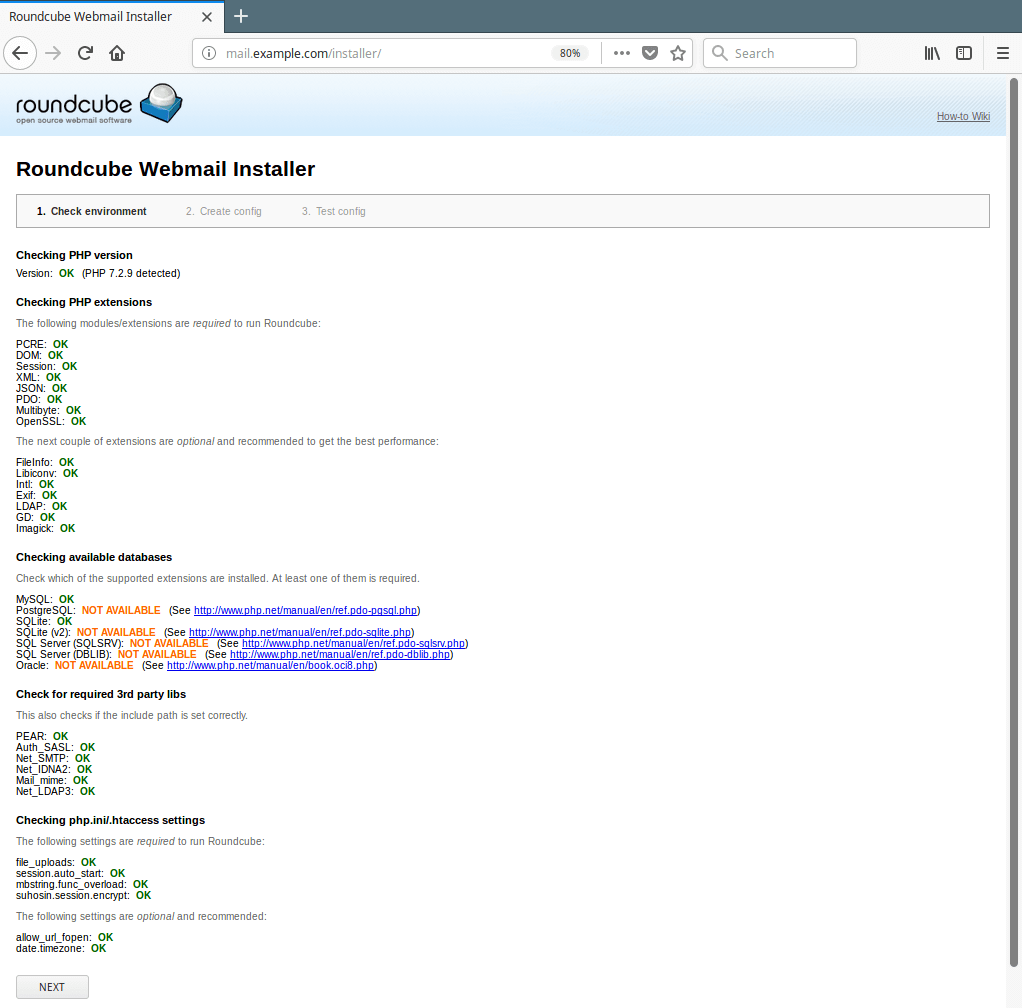
Step 3: Install and Configure Roundcube
3.1 Download Roundcube:
Navigate to the web root directory and download the latest stable version of Roundcube. (Note: Check the Roundcube download page for the most recent version.)
cd /tmp
sudo wget -c https://github.com/roundcube/roundcubemail/releases/download/1.3.7/roundcubemail-1.3.7-complete.tar.gz
3.2 Extract and Move Files:
Extract the downloaded archive and move it to your web directory.
sudo tar xzf roundcubemail-1.3.7-complete.tar.gz
sudo mv roundcubemail-1.3.7 /var/www/html/roundcubemail

-
3.3 Import the Database Schema:
Import the initial database structure into yourroundcubemaildatabase.cd /var/www/html/roundcubemail sudo mysql -u root -p roundcubemail < SQL/mysql.initial.sql
3.4 Set Correct Permissions:
Apache needs to own the files to read and write to them.sudo chown -R apache:apache /var/www/html/roundcubemail
3.5 Restart Services:
sudo systemctl restart httpd mariadb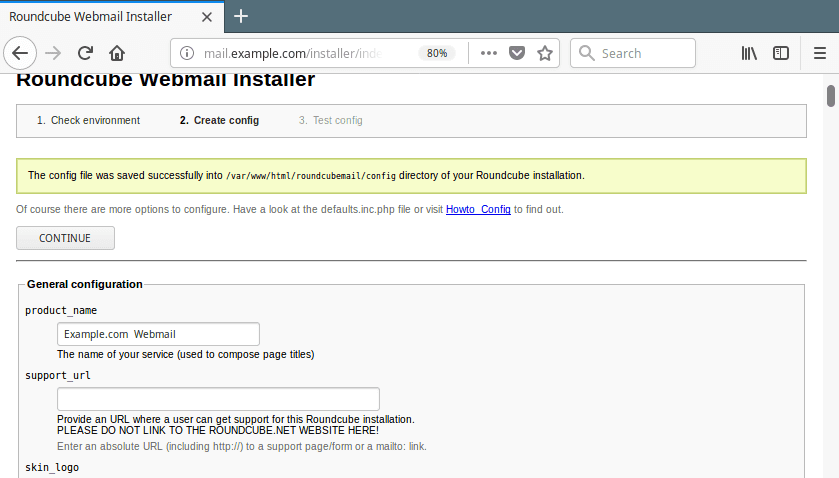
Roundcube Configuration File Created
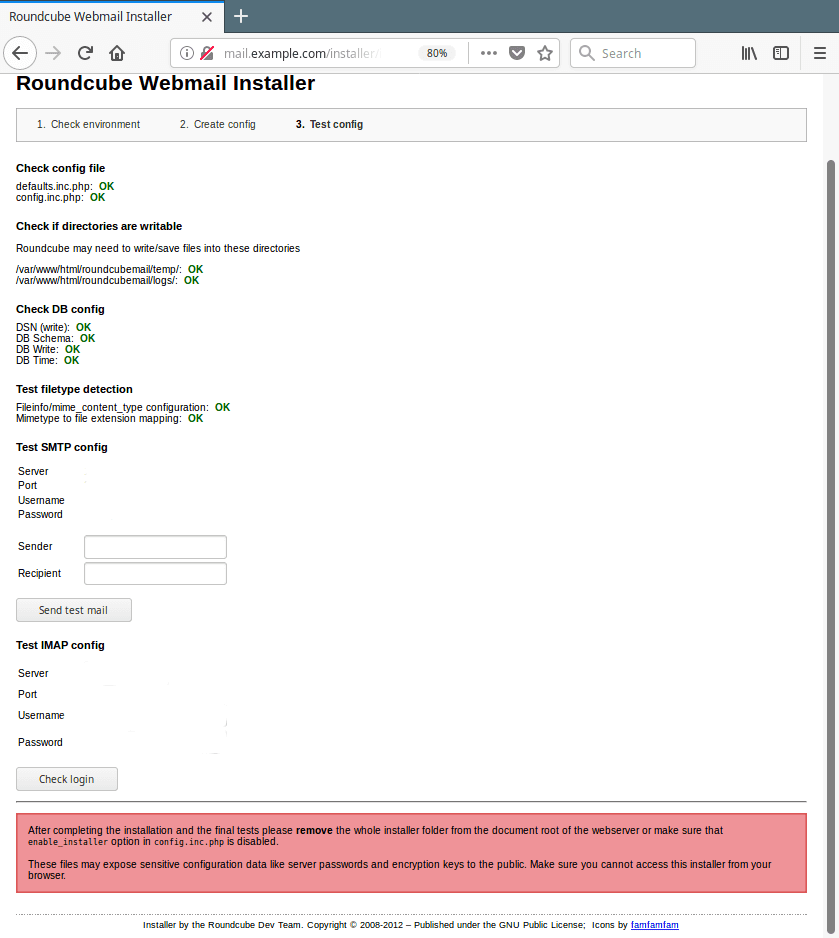
You can review your configuration from the Test config page as shown in the following screenshot.
Step 4: Complete Setup via Web Browser
The final configuration is done through a web-based installer.
-
Open your browser and navigate to your Roundcube installer:
http://mail.your_domain.com/roundcubemail/installer -
General Configuration:
-
Set a
product_name(e.g., “YourDomain Webmail”).
-
-
Database Setup:
-
Database type:
MySQL -
Database server:
localhost -
Database name:
roundcubemail -
Username:
roundcube -
Password:
=213@!#webL(the password you set earlier)
-
-
IMAP & SMTP Settings:
-
IMAP server:
localhost -
SMTP server:
localhost -
Ensure both are set to use
TLSorSSLon their standard ports (993 for IMAPS, 465 for SMTPS). For this test setup, you may need to usetls/starttlson ports 143 and 587 if SSL is not yet configured.
-
-
Create Config: Click Create Config and then Continue on the success message.
-
Test Configuration: Use the Test Config page to verify all settings are correct.
Step 5: Secure the Installation
5.1 Remove the Installer Directory:
This is a critical security step. The installer directory contains sensitive data and must be deleted to prevent unauthorized access.
sudo rm -rf /var/www/html/roundcubemail/installer
5.2 (Recommended) Disable the Installer in Config:
As an alternative, you can disable the installer in the config file instead of deleting it. Edit the config file:
sudo vi /var/www/html/roundcubemail/config/config.inc.php
Find and ensure the following line is set:
$config['enable_installer'] = false;
Step 6: Log In to Roundcube
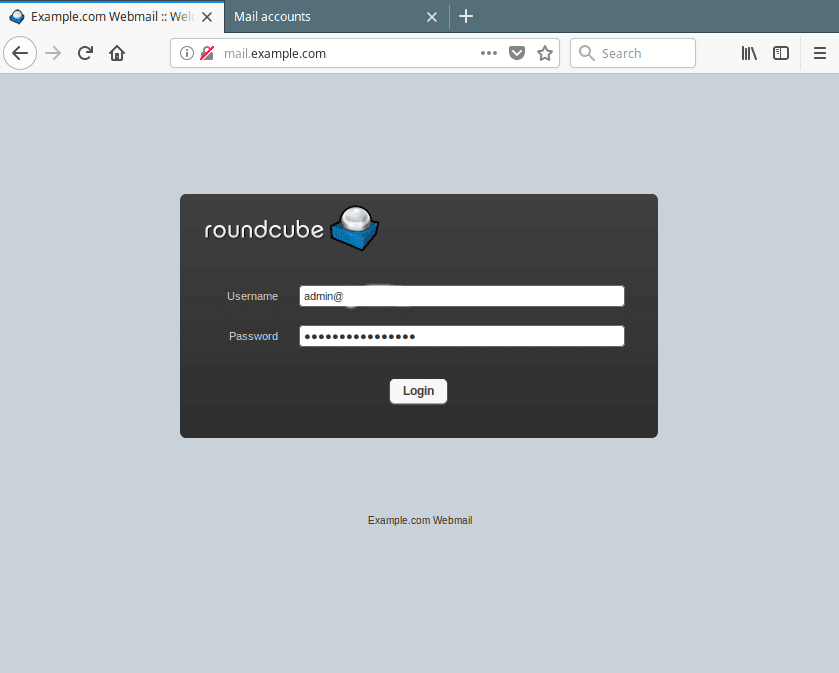
Your webmail is now ready! Open your browser and navigate to:http://mail.your_domain.com/roundcubemail/
Log in using the email user credentials you created in Part 1 (e.g., admin@your_domain.com and its password). You should see the inbox with the test email you sent earlier.
Conclusion
Congratulations! You have successfully configured a complete email server stack on CentOS 7:
-
Postfix as the SMTP server for sending mail.
-
Dovecot as the IMAP server for retrieving mail.
-
Roundcube as the web-based client to access your emails.
You can now send and receive emails through a modern, intuitive web interface.
Important Security Note & Next Steps
This guide sets up a functional server, but a production email server requires further hardening:
-
SSL/TLS Certificates: It is essential to encrypt communication between the client and server using SSL certificates from Let’s Encrypt. Currently, your login credentials and emails are transmitted in plain text, which is highly insecure.
-
Firewall Rules: Ensure only necessary ports are open.
-
Spam Filtering: Implement tools like SpamAssassin and ClamAV to filter spam and viruses.
Pro TipManaging a secure email server requires constant vigilance against security threats and spam. For a reliable, hassle-free solution, consider a professional managed email hosting service